
User Manual for National Diabetology Registry Hospital-based Multicentre Diabetes Registry (HMDR)
Primary Objective:
The Primary objective of this registry is to collect data on the demographics, anthropometry and management of patients with Diabetes Mellitus that can be used to improve the knowledge of epidemiology clinical presentation, management and complication of Diabetes Mellitus in India.Secondary Objectives:
- Enable a baseline assessment of the burden and the care of diabetes patients, which will provide critical evidence for planning future programs.
- Provide a repository for data on Diabetes Mellitus patients which can be used for future clinical trials.
- Facilitate recruitment for clinical trial pertaining to Diabetes by matching potential subject interested to participate in research with approved clinical studies.
Version 4.0 Hosted at CSIR 4Pi
Pilot Data Entry URL: https://birac.indiancst.com
User Roles
Login Credentials available for the following roles:
- Birac Super User
- Data Entry Operator (DE)
- Quality Manager (QM)
- Project Investigator (PI)
- Project Manager (PM)
- Super Admin
- Statistician for the lead site
Access Management - Role-Based Access Control
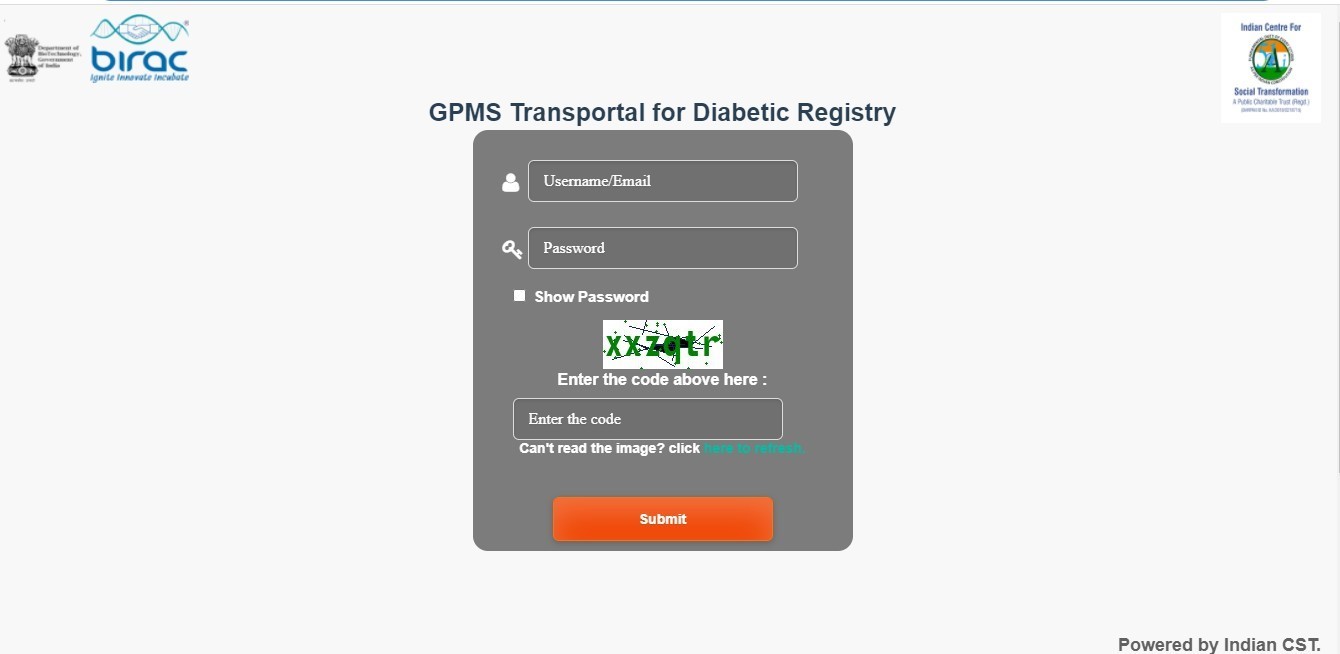
How to Login
Login URL: https://birac.indiancst.com/India/birac/index.php?module=uh_diabetes&action=Welcome


Login with your User ID and Password:
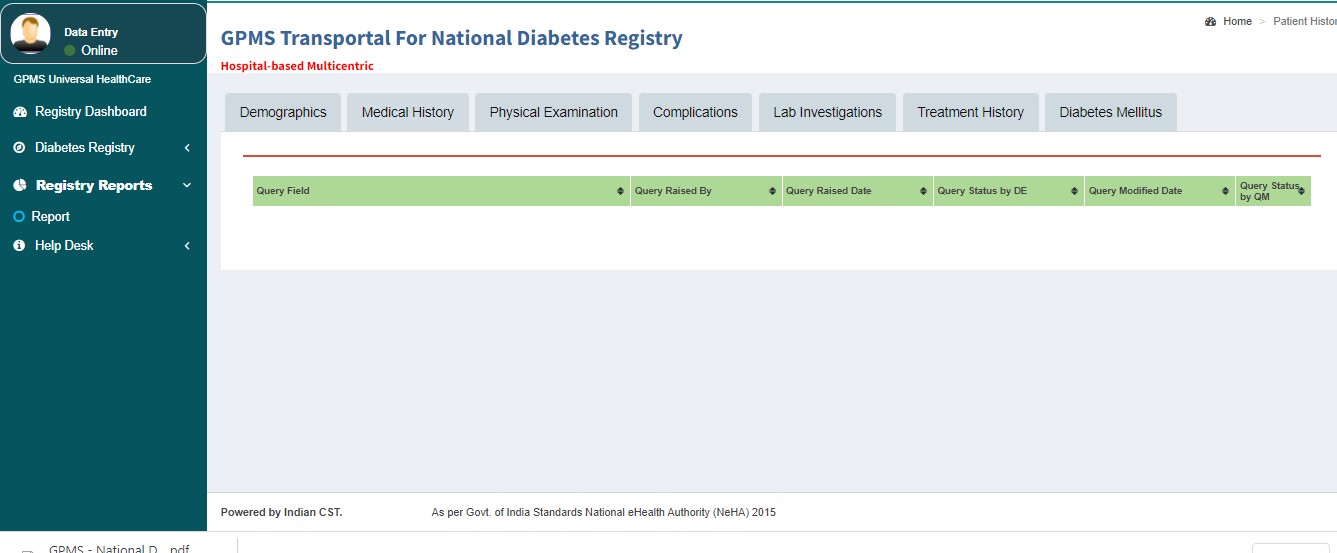
Exploring the Tabs in the Registry Software
Masters:
- Ayushman Bharath Organization Registration
- User Registration
Modules in the Diabetes Registry:
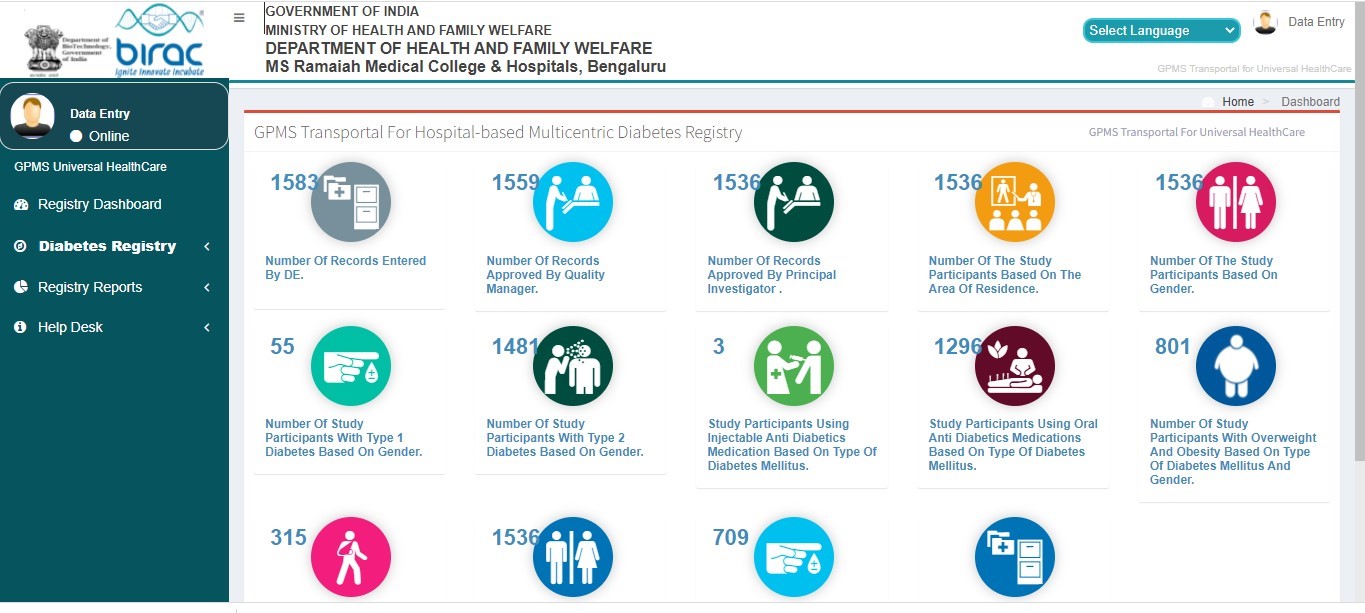
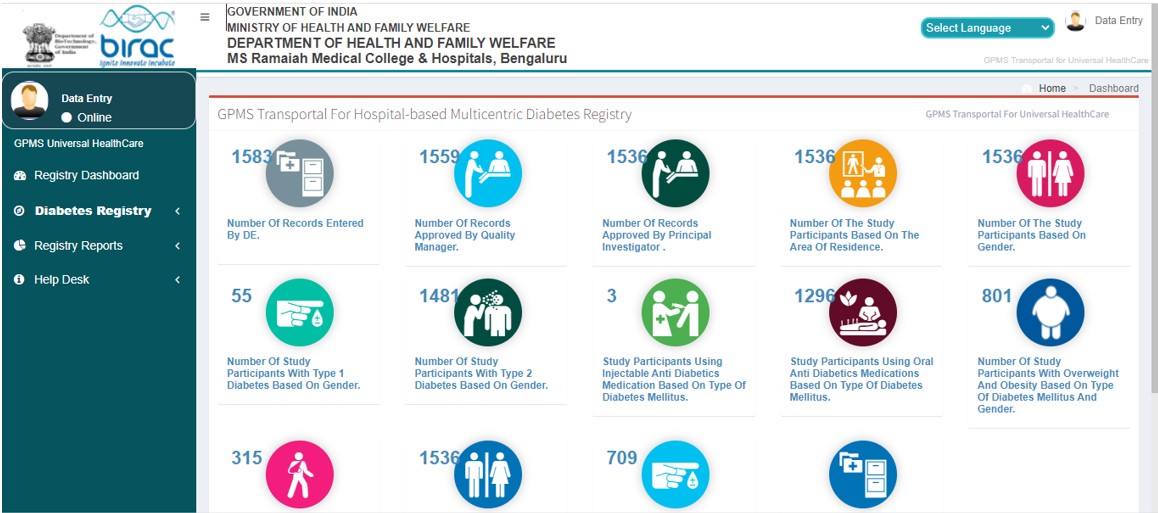
- Diabetics Registry dashboard
- Diabetics Registry Analytics
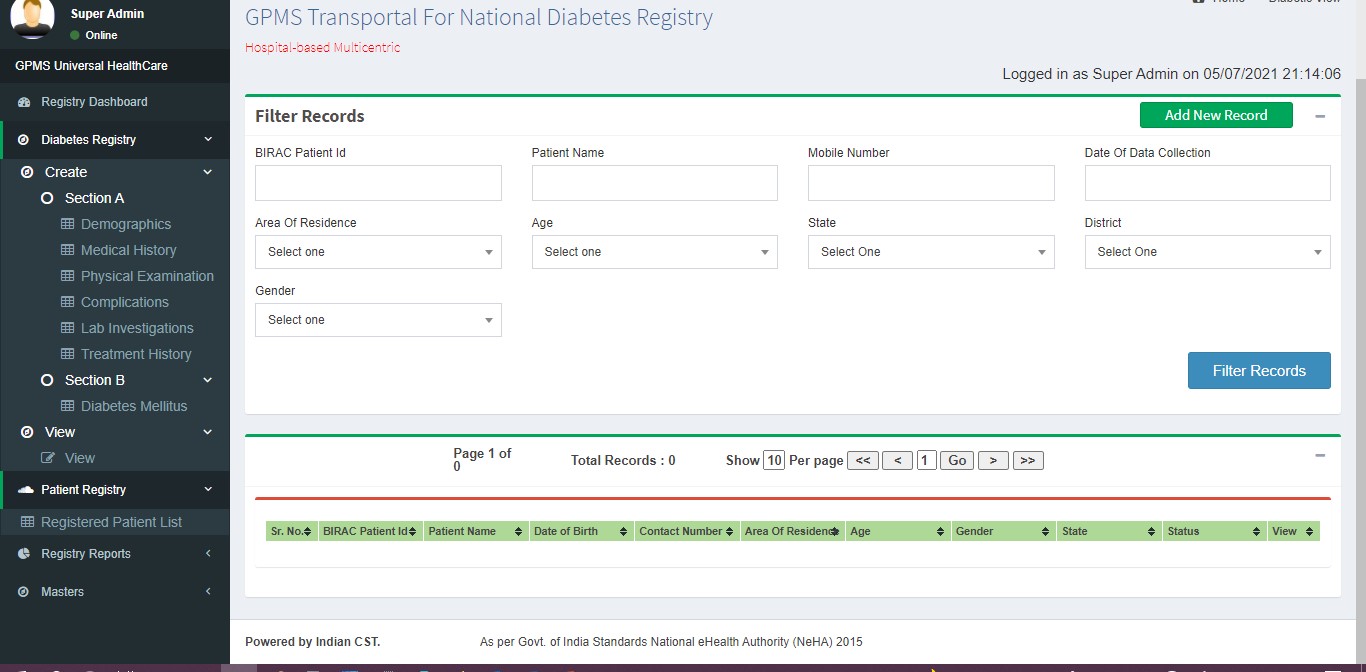
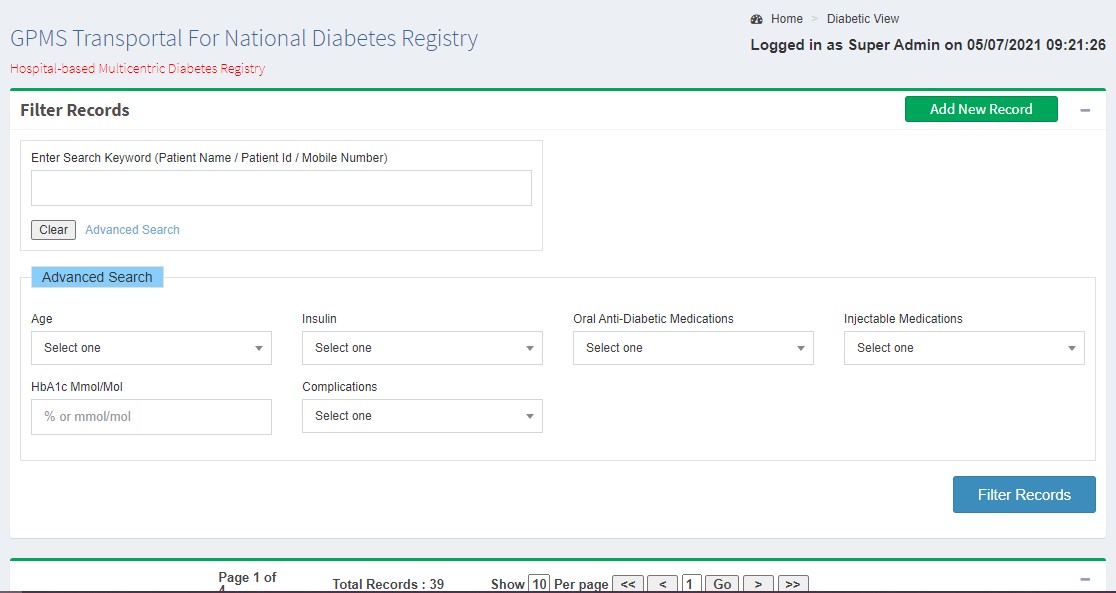
- Patient registry
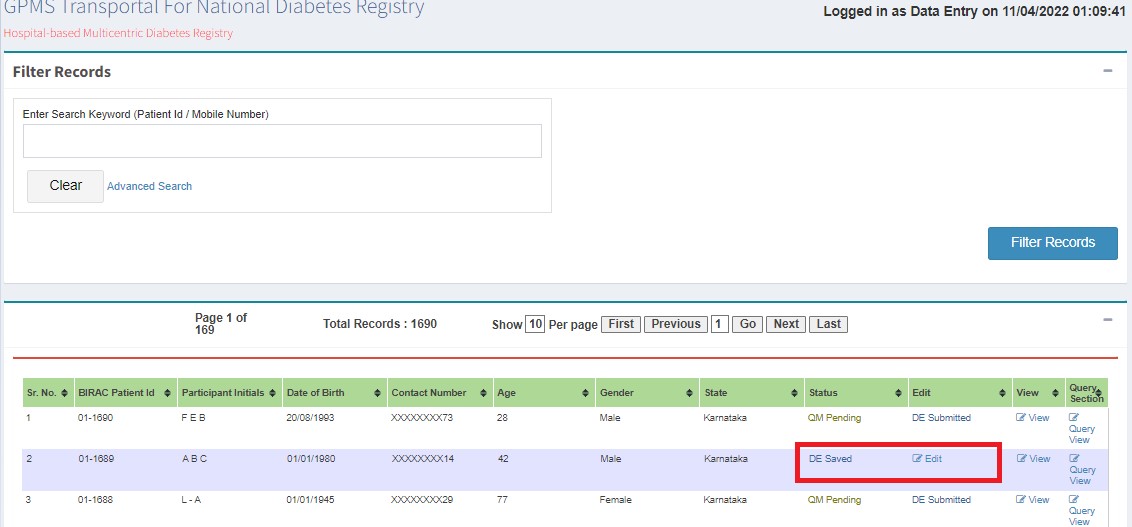
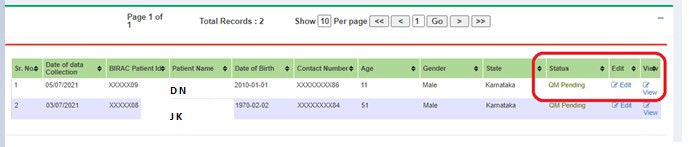
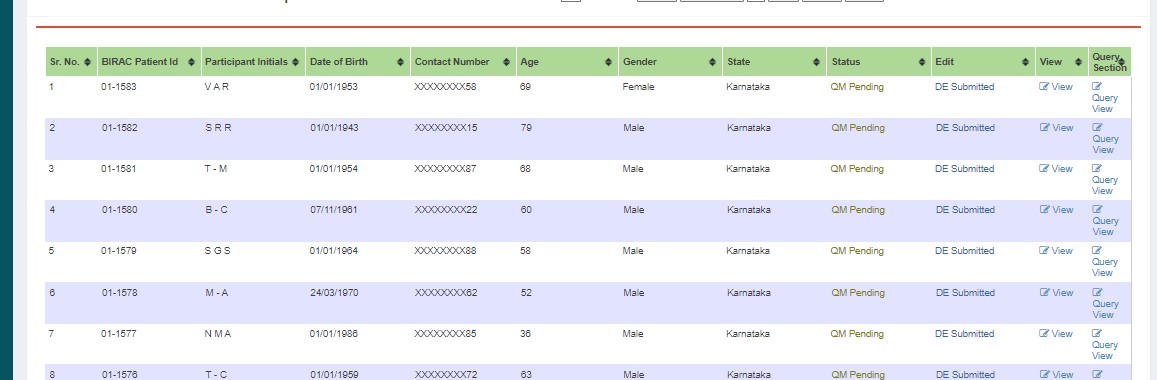
- Registered Patients List
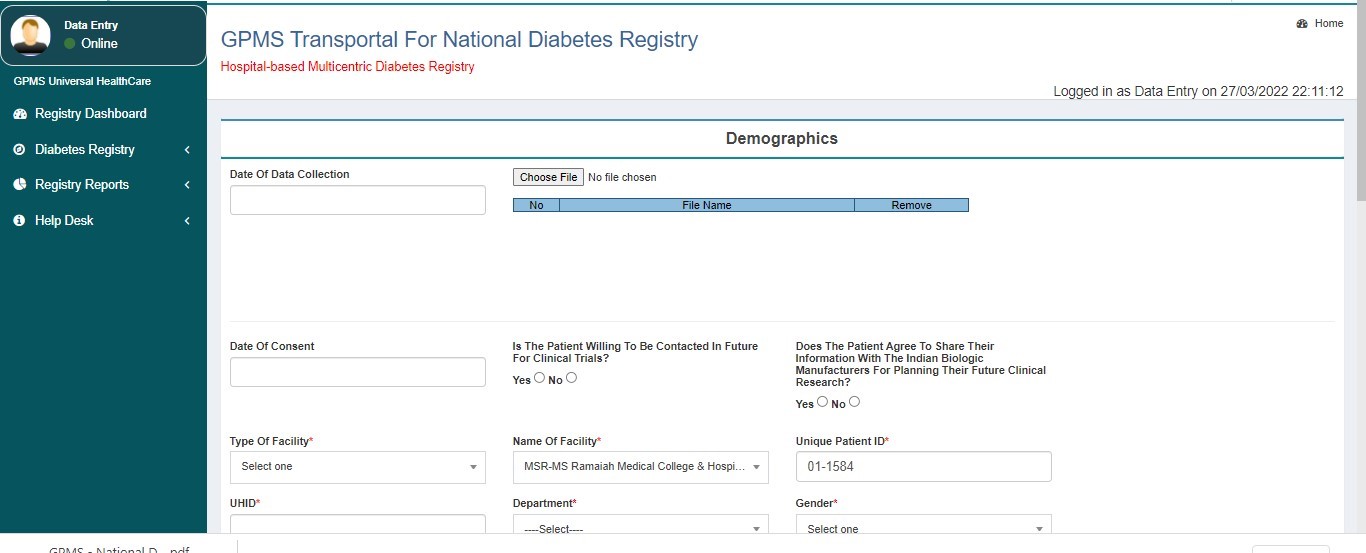
- Diabetes Registry Section A and B for data capture real time
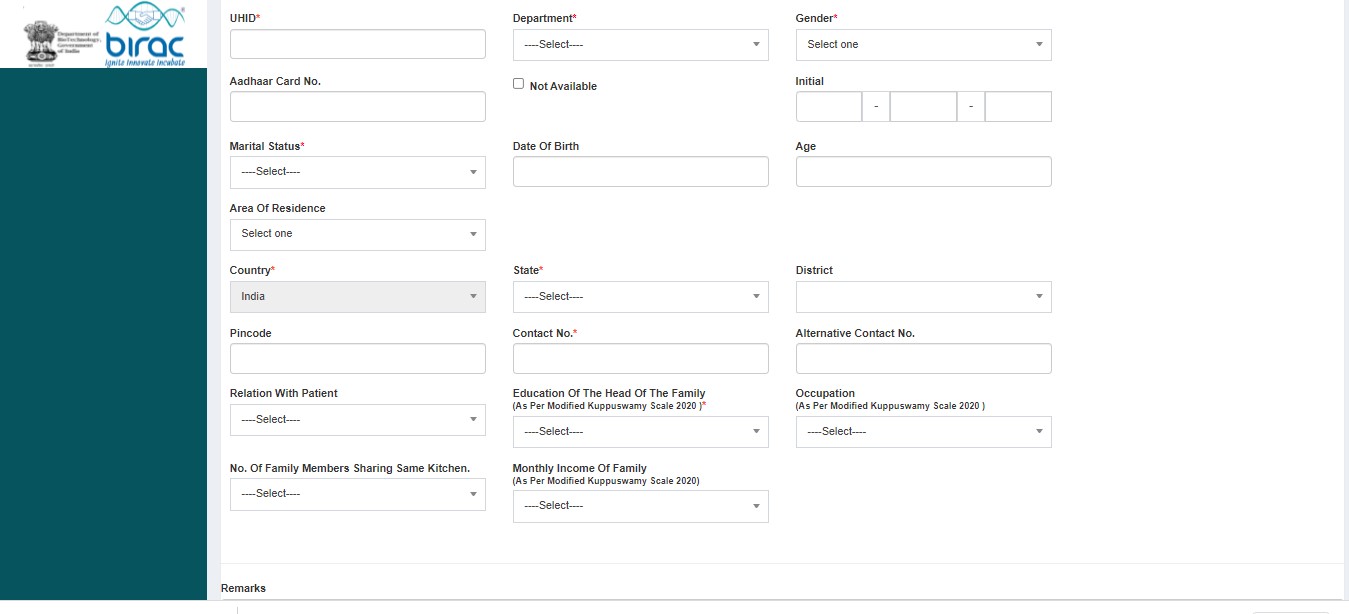
Section A:
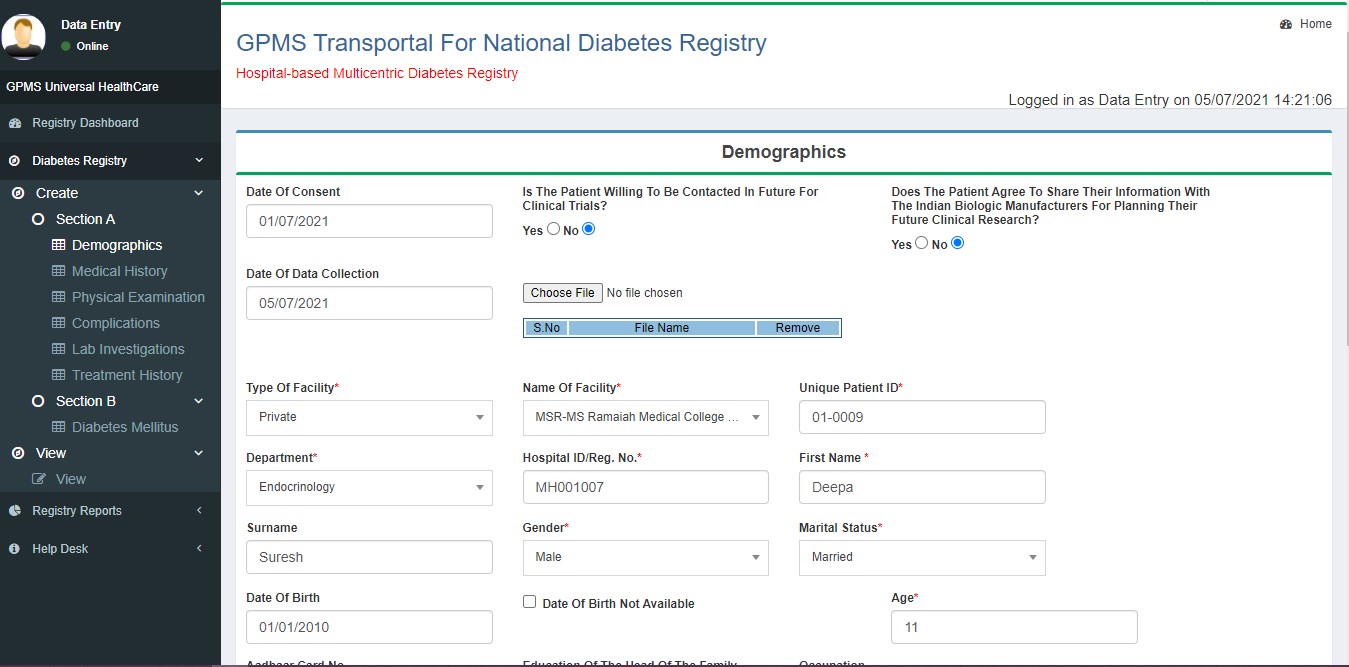
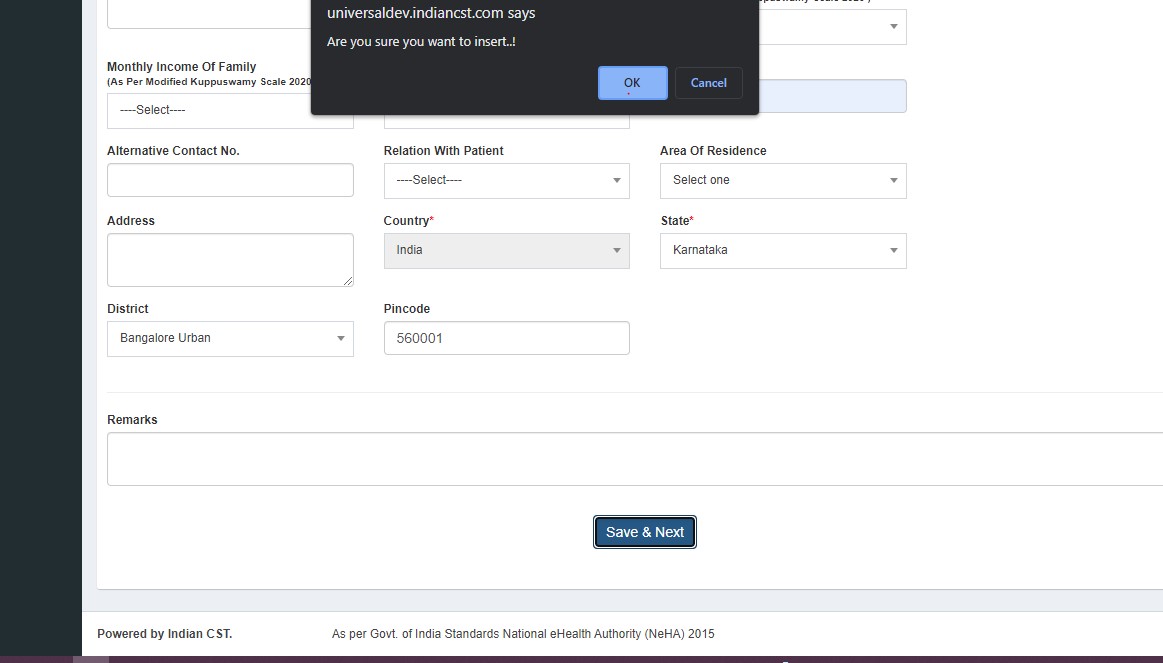
- Demographics
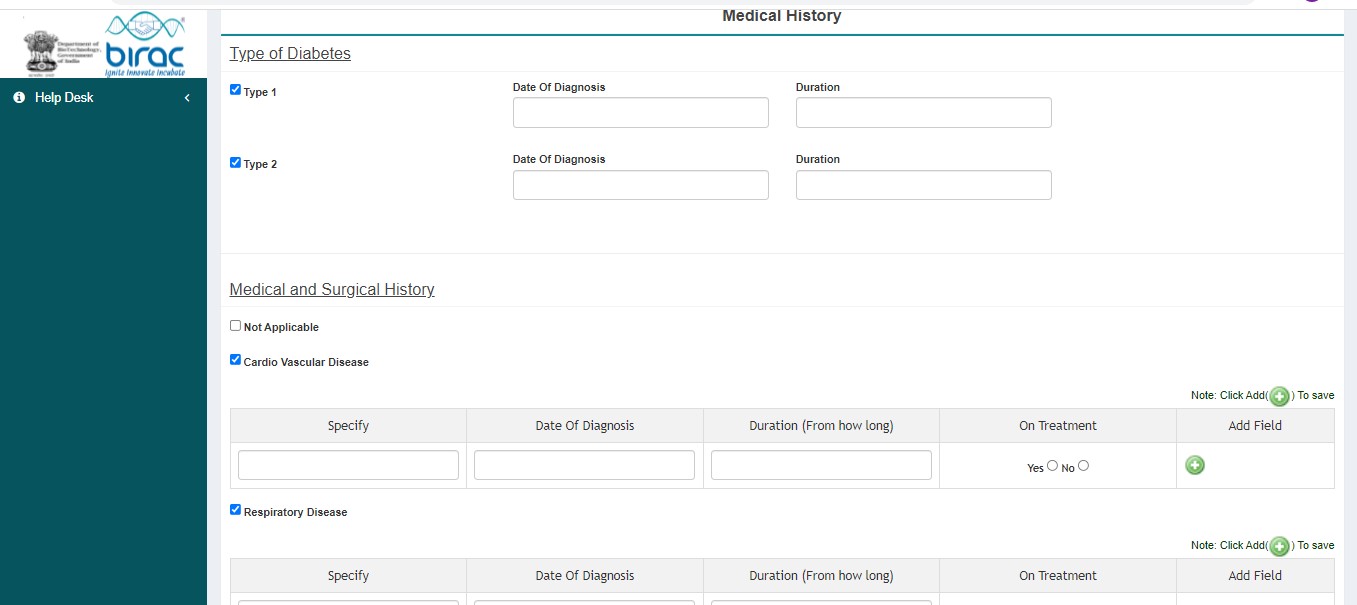
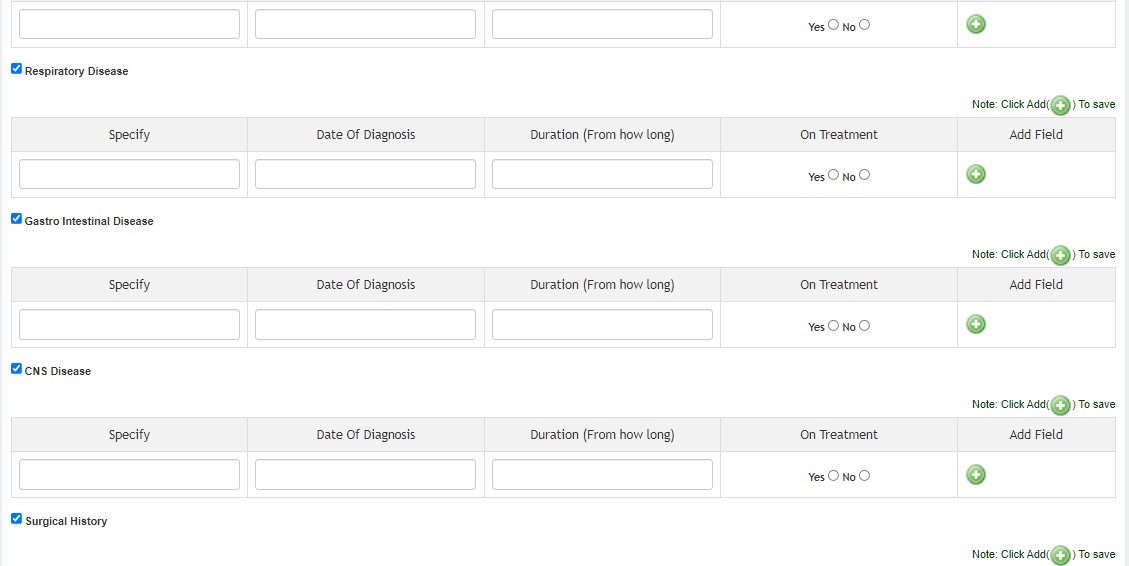
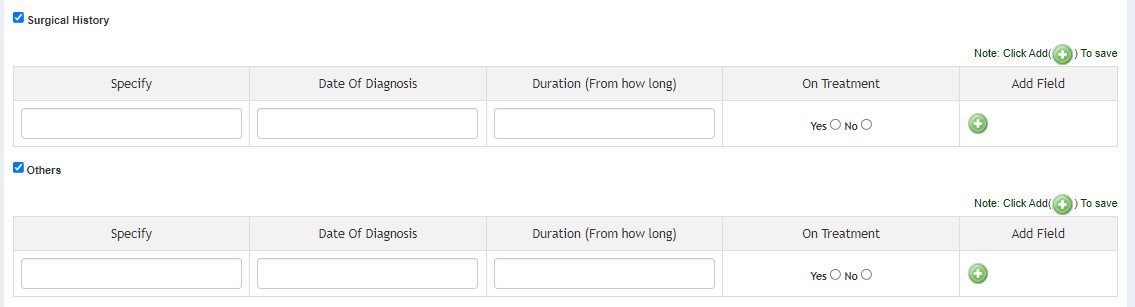
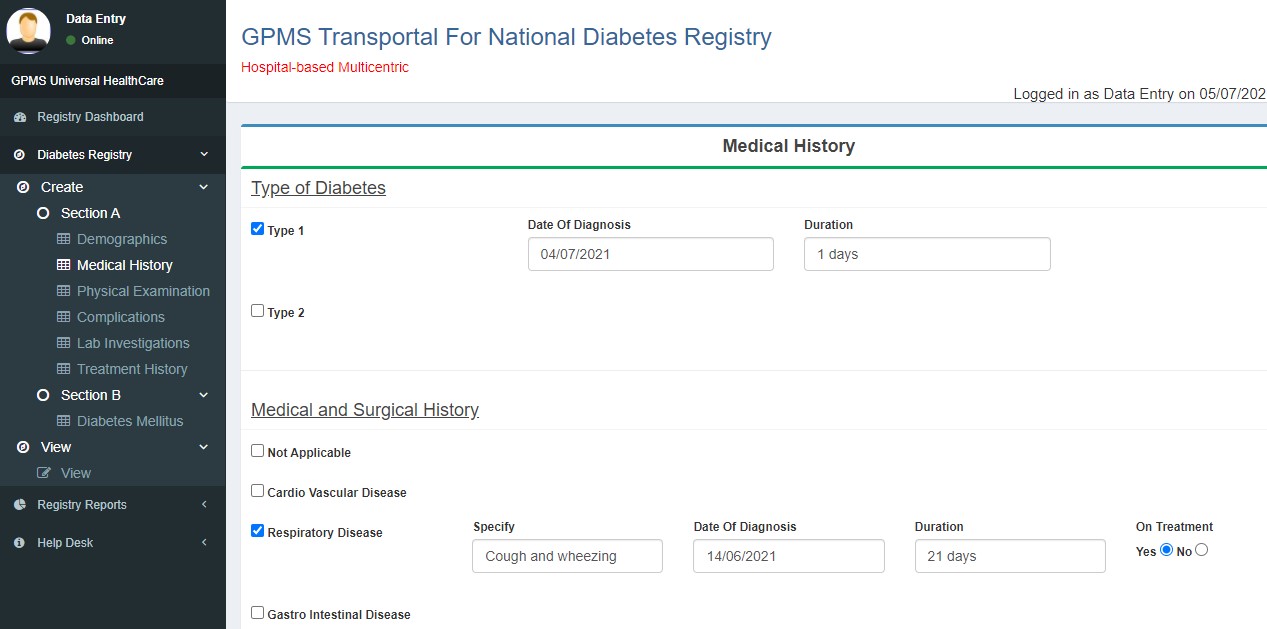
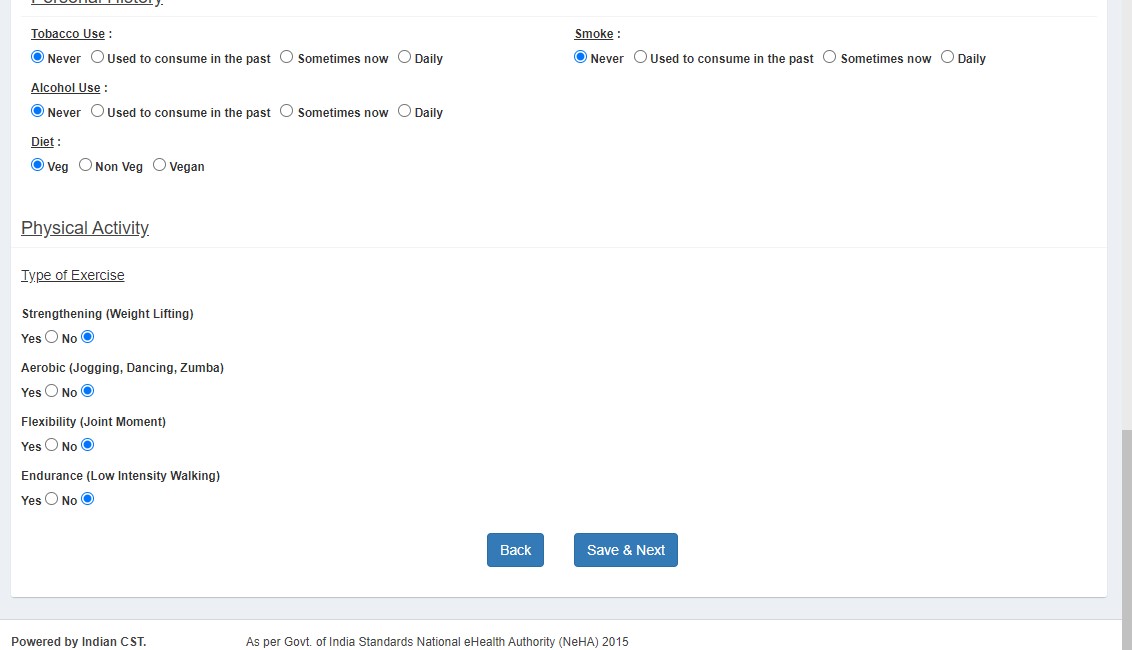
- Medical History
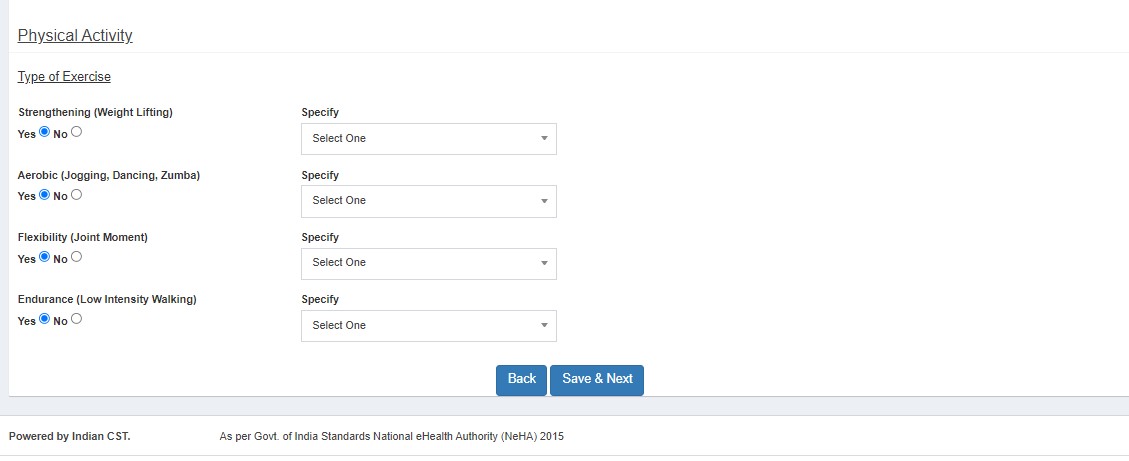
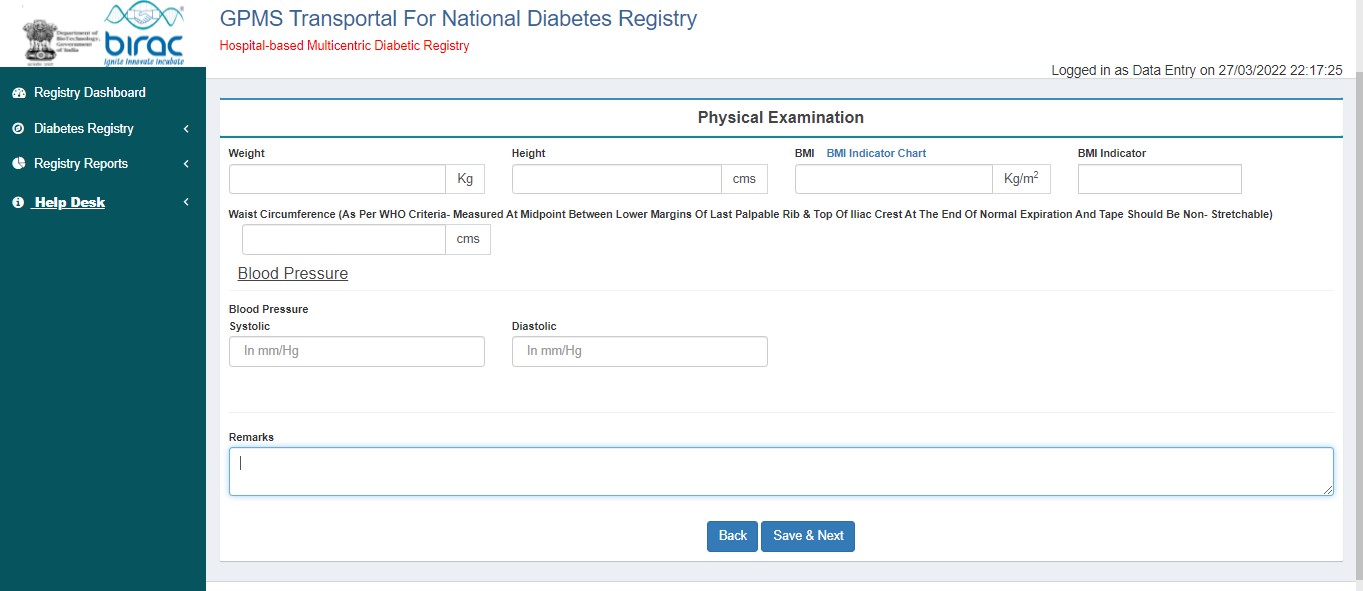
- Physical Examination
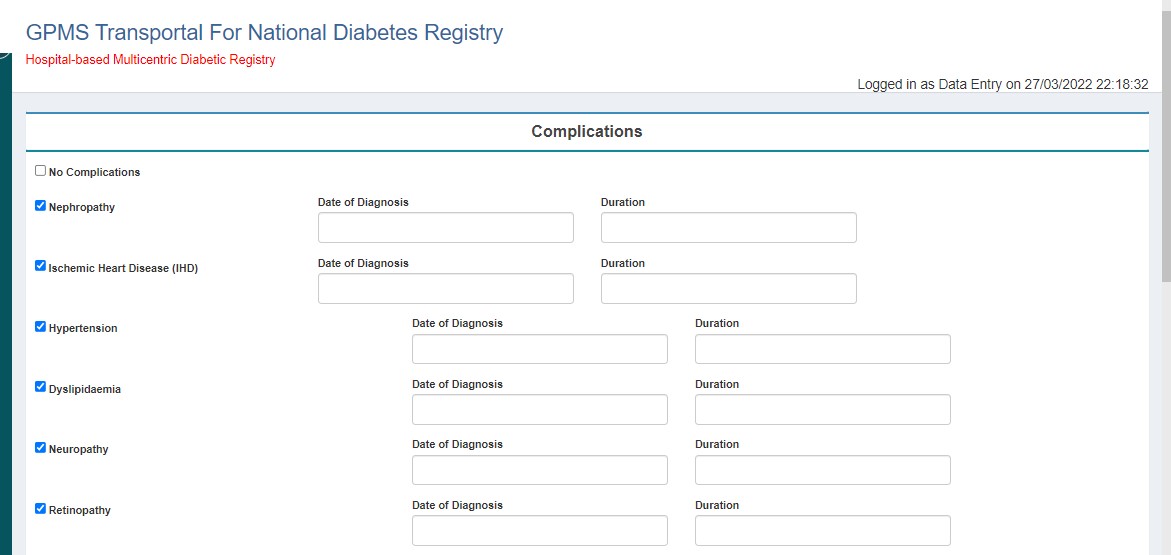
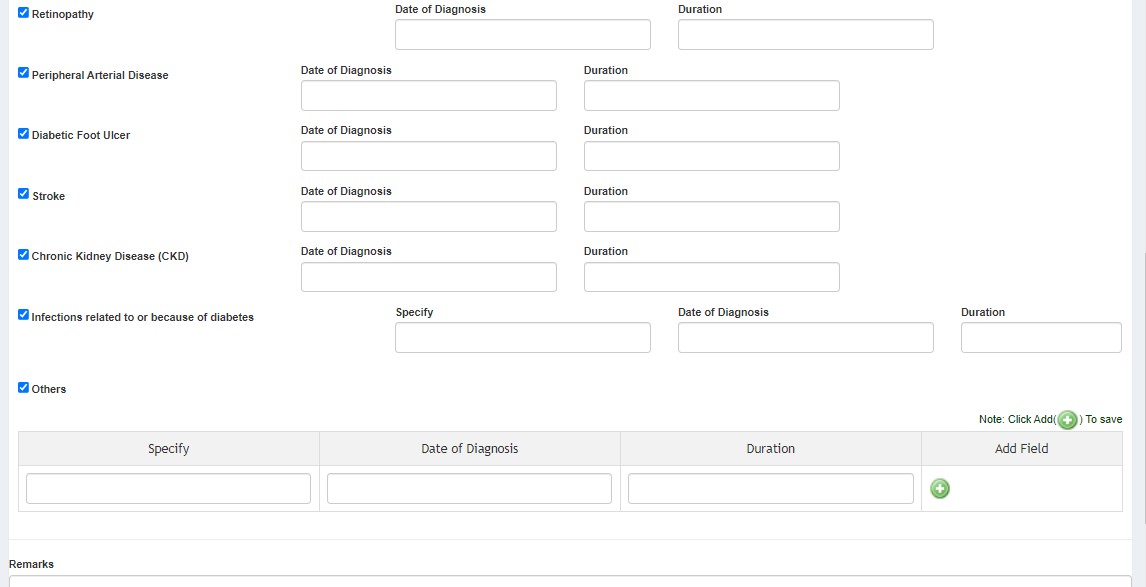
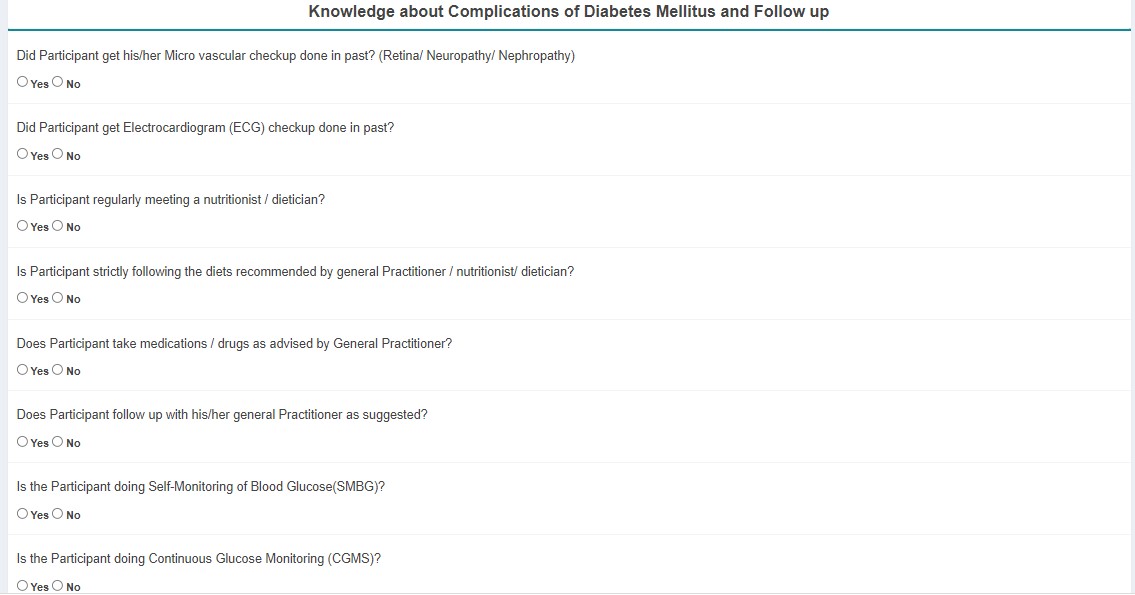
- Complications
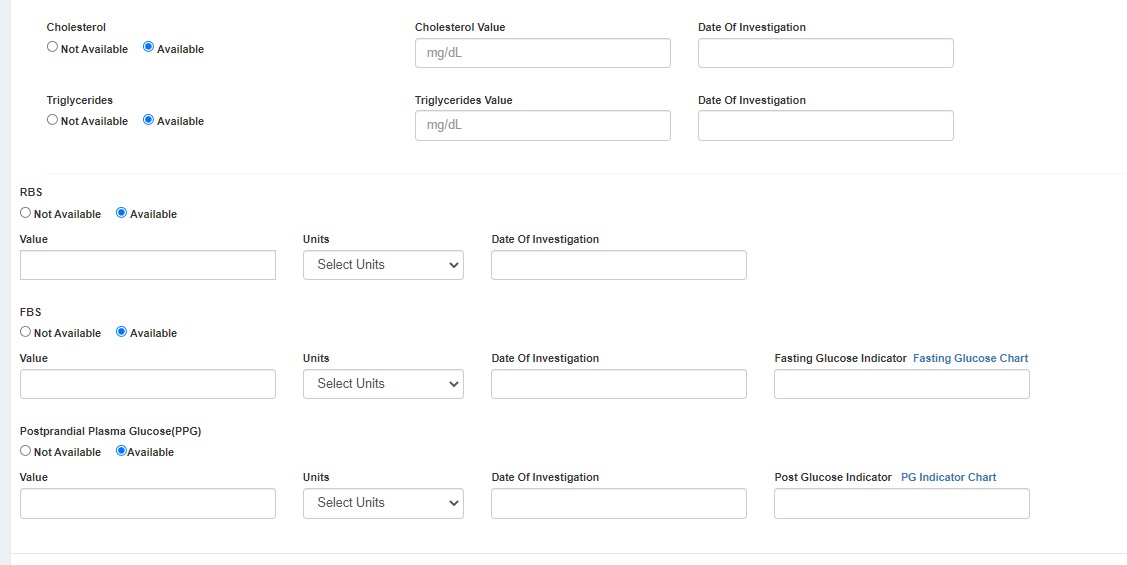
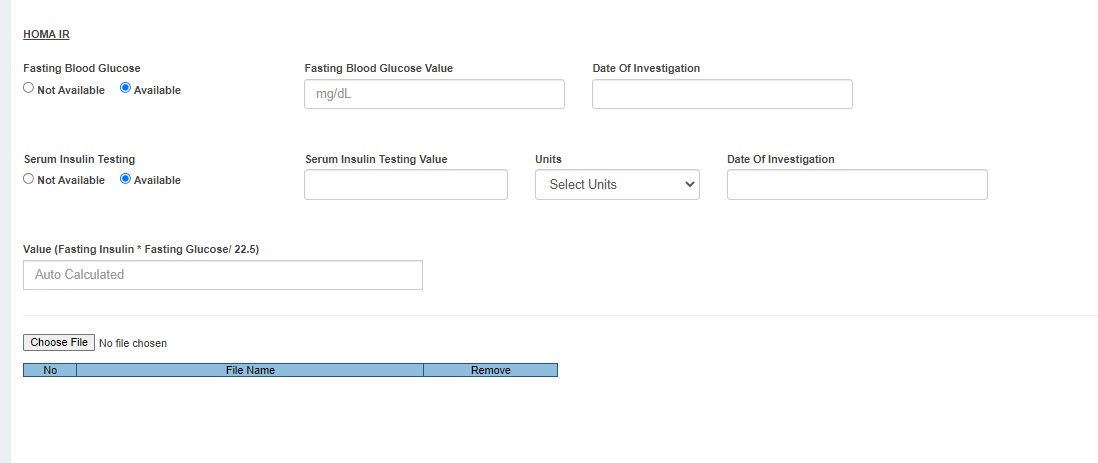
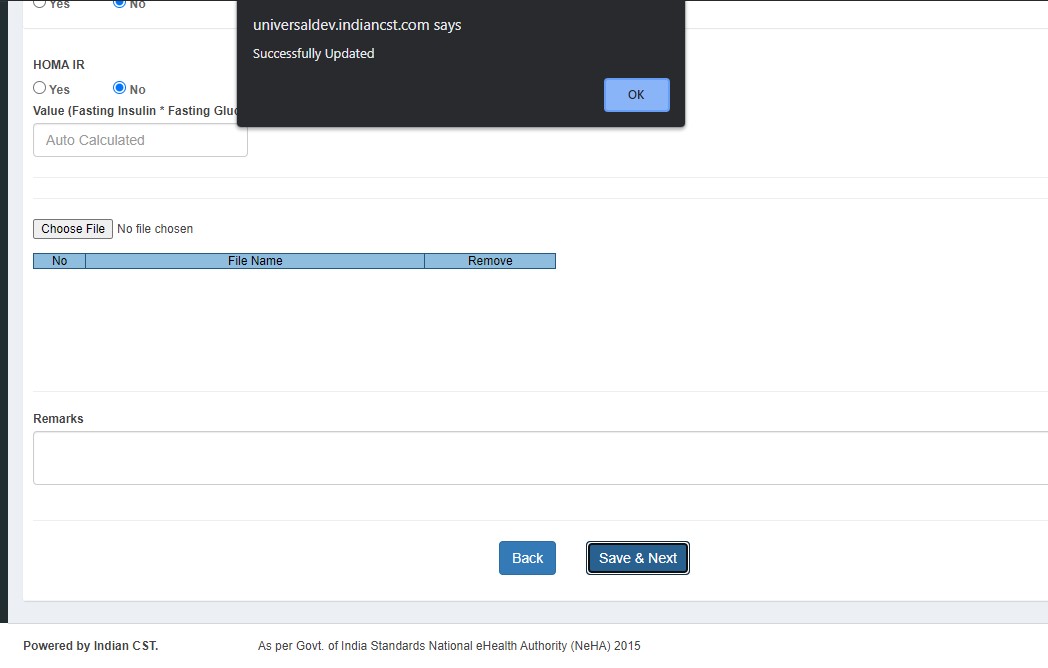
- Lab Investigations
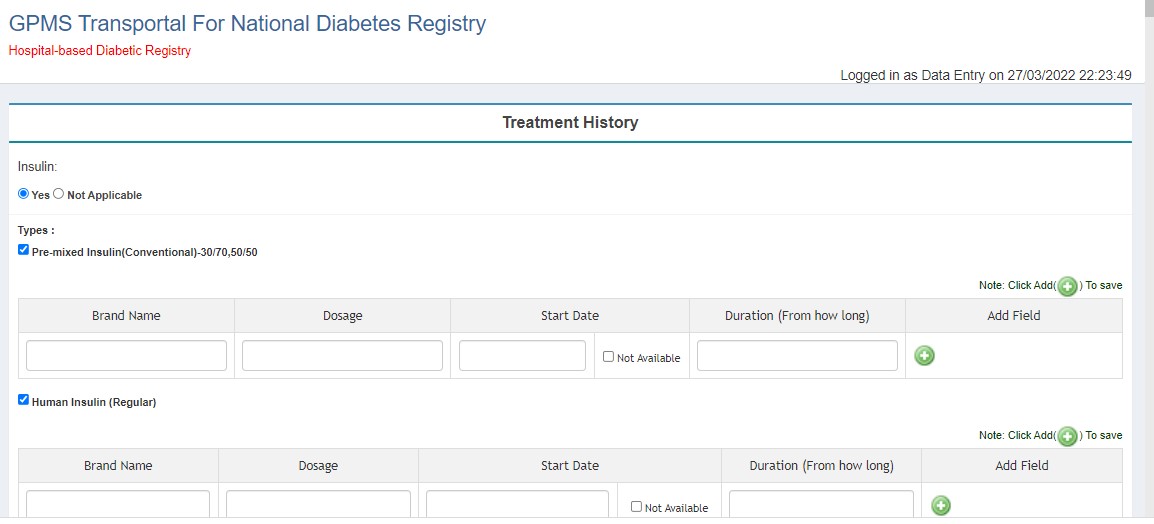
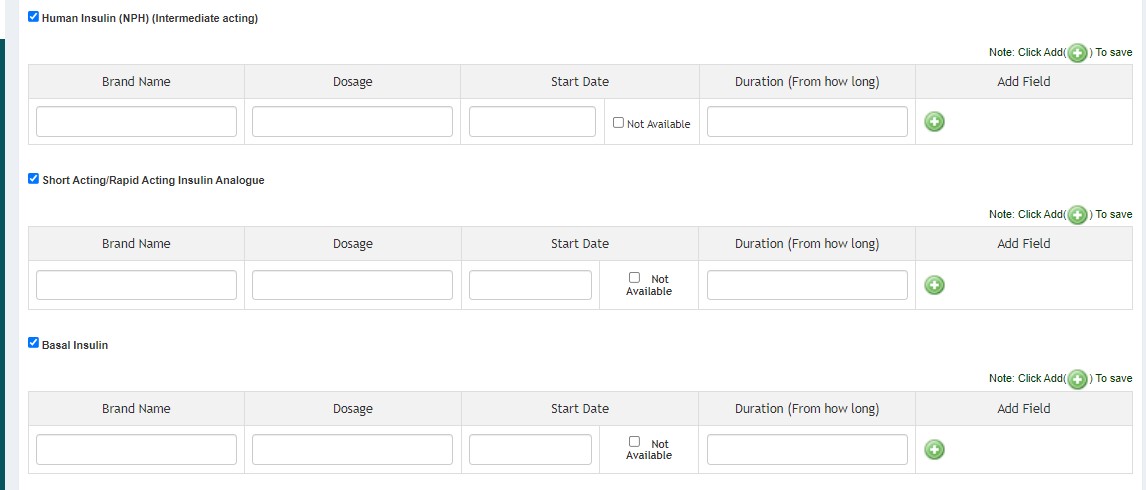
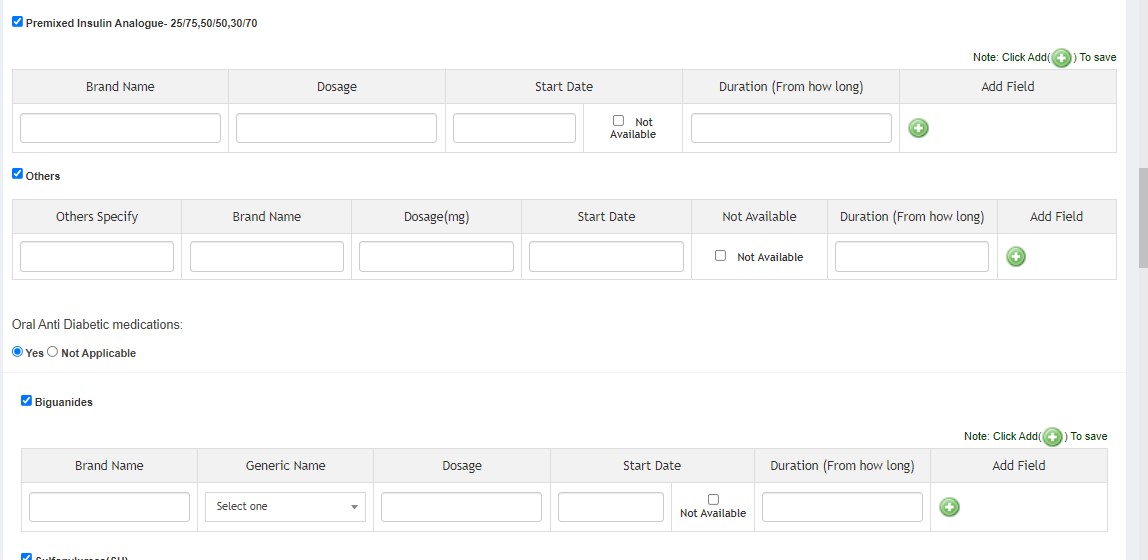
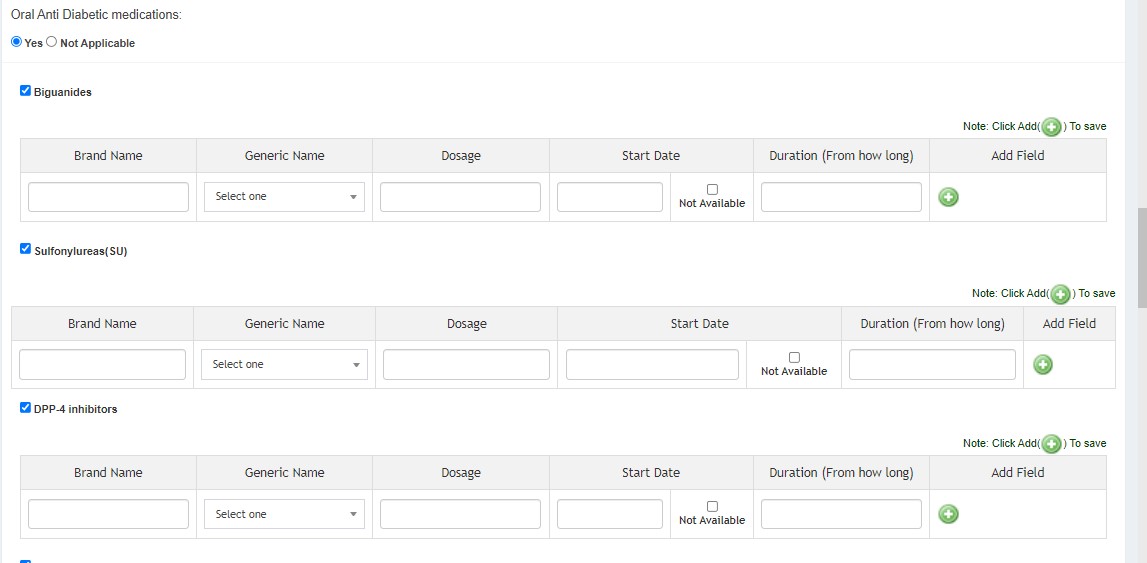
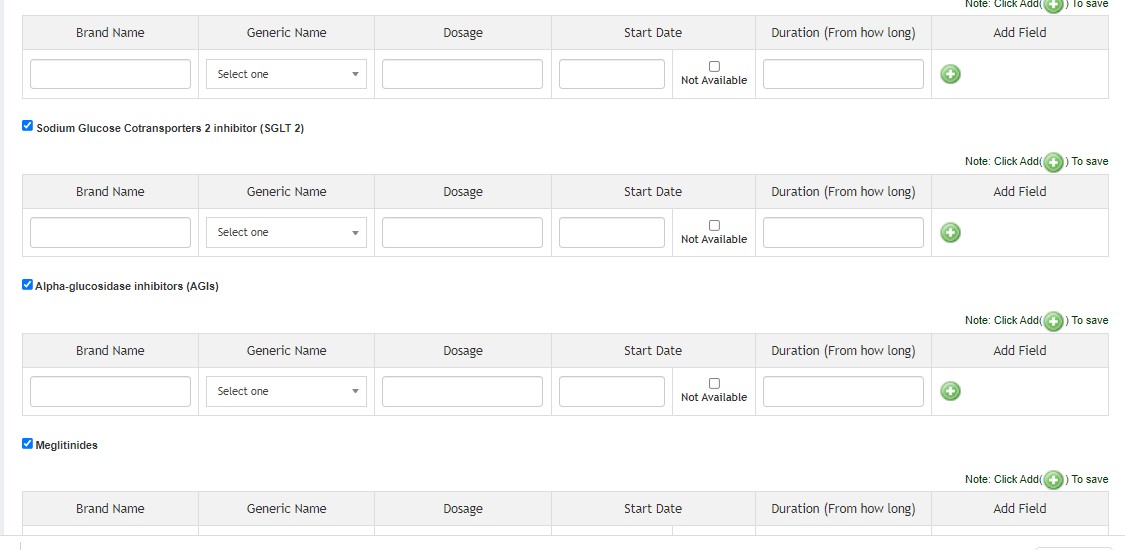
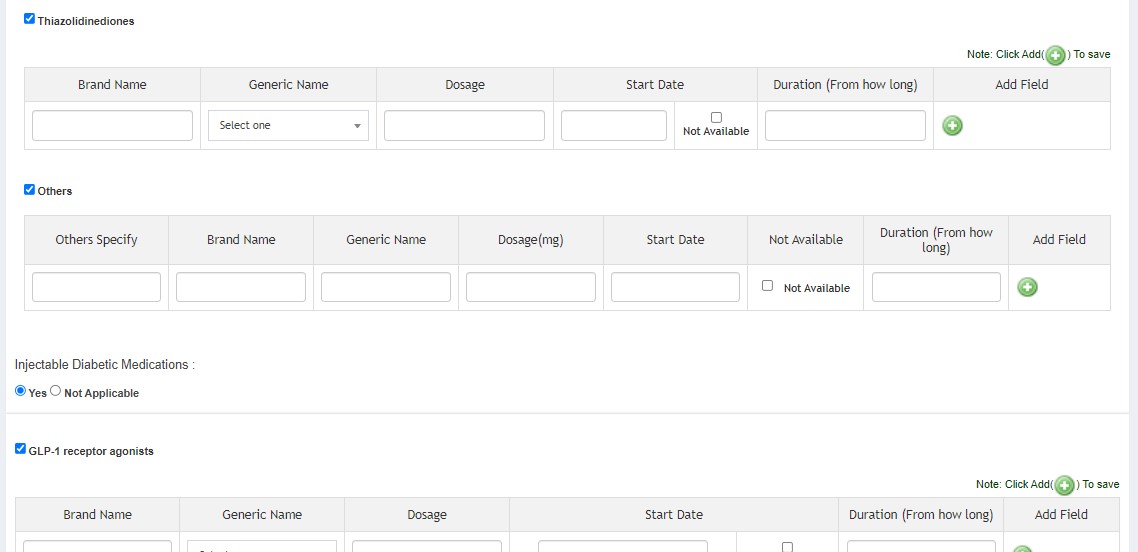
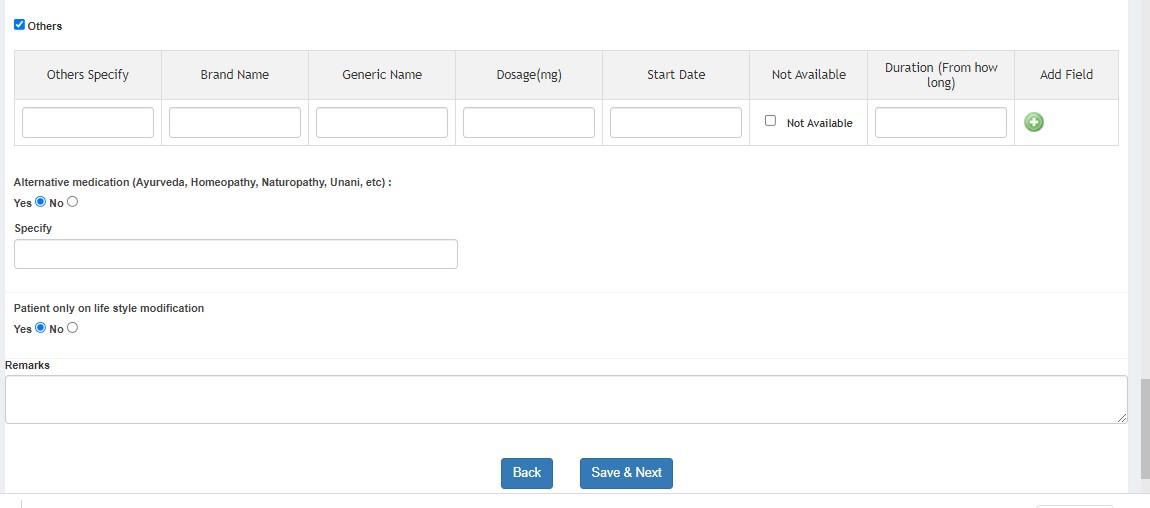
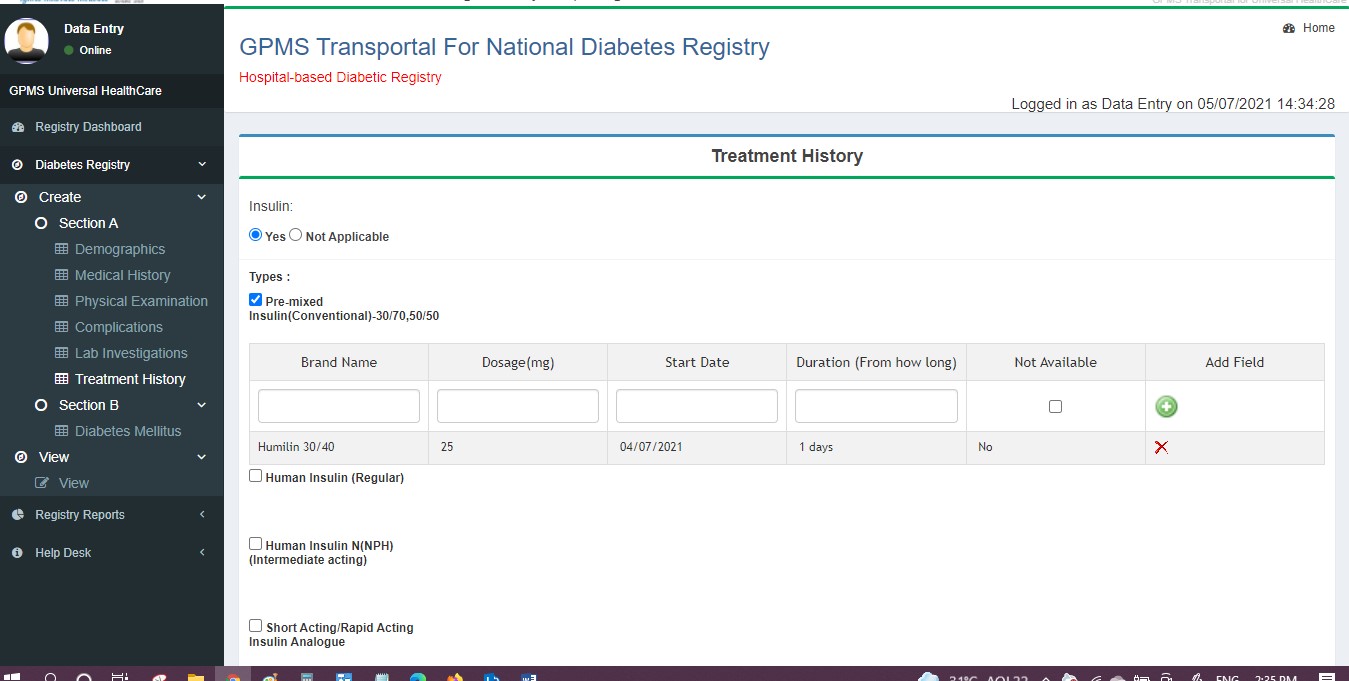
- Treatment History
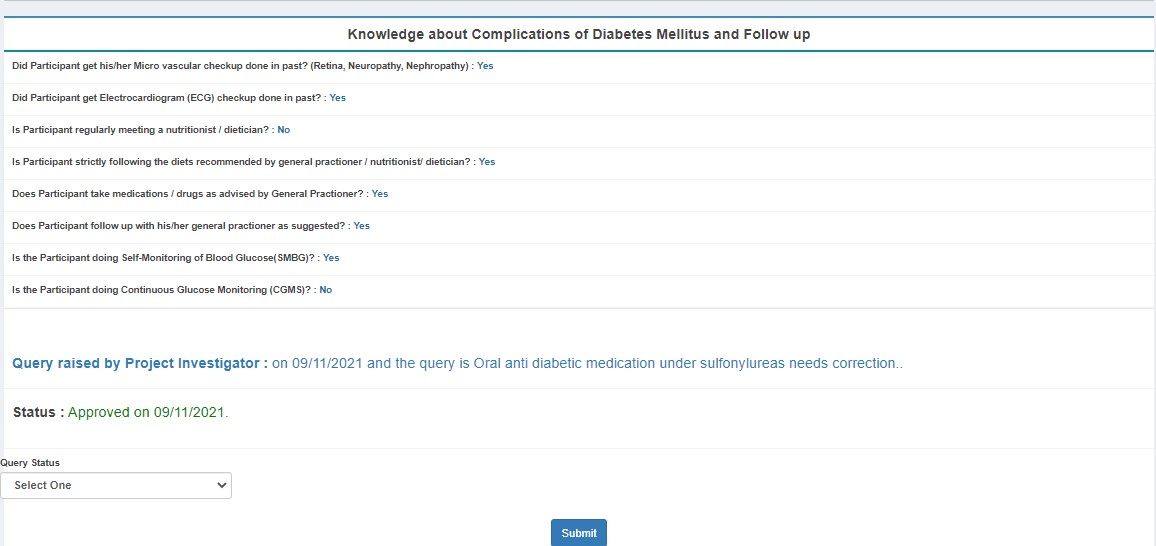
Section B:
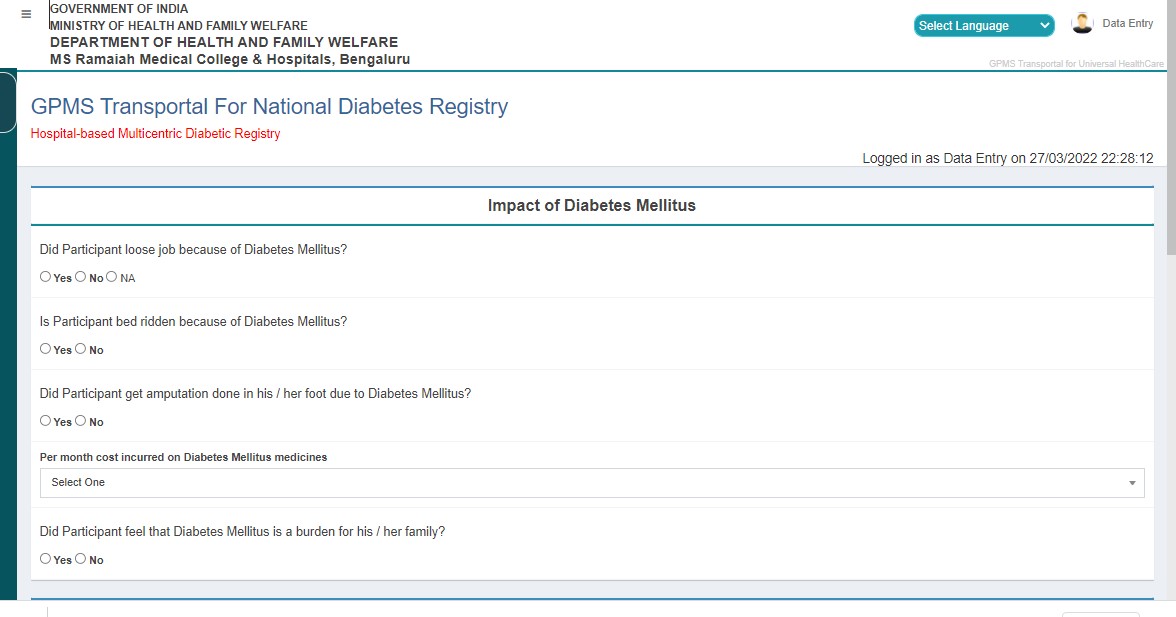
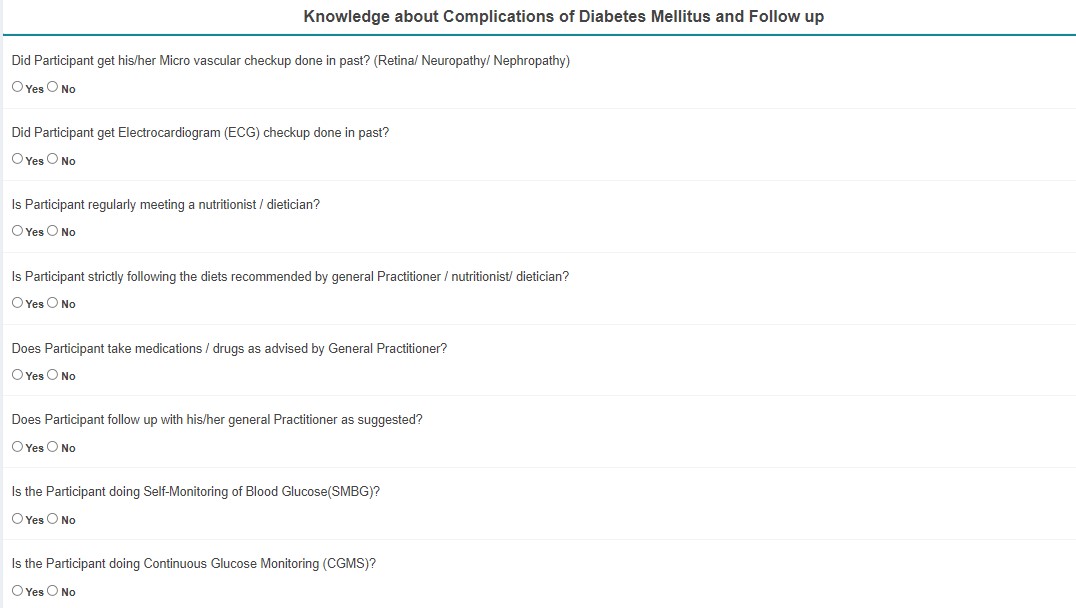
- Diabetes Mellitus
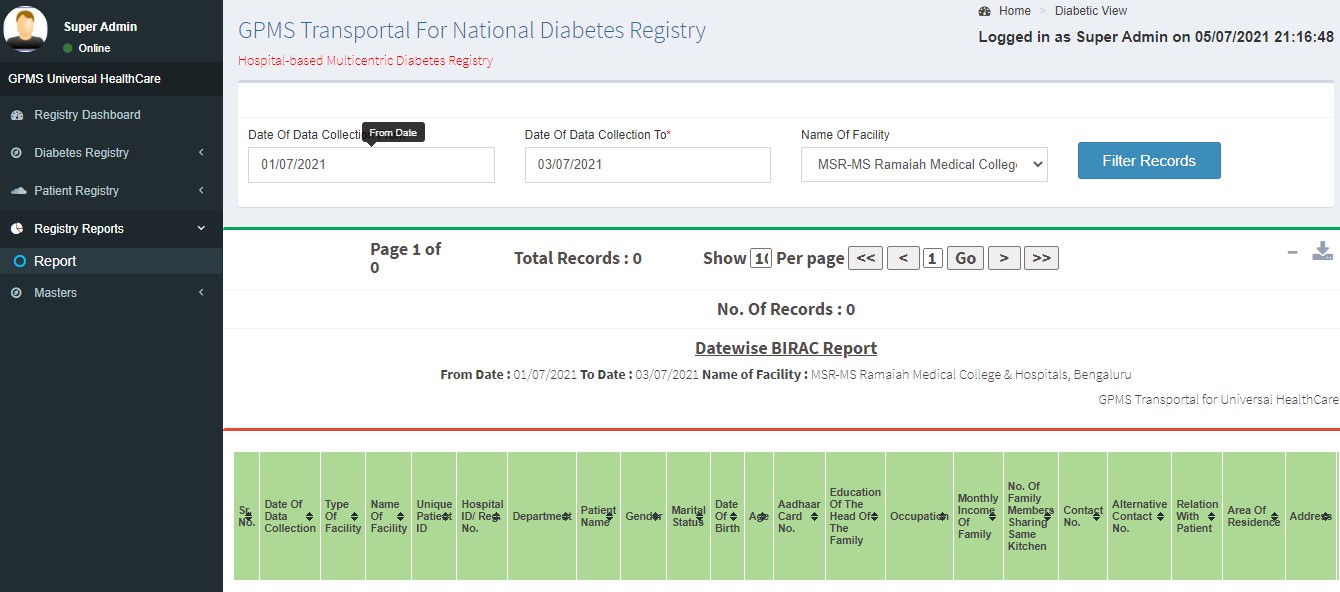
Reports:
- Diabetics Registry Reports
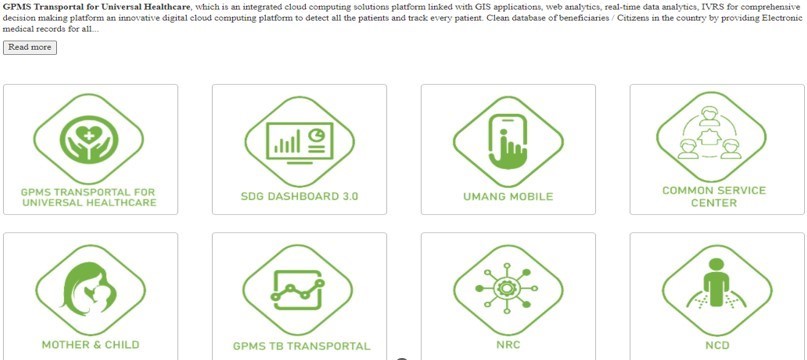
Integrated Modules in the Registry for GPMS Healthcare Services:
- Citizen Portal
- Lab M
- E pharma connect
- Telemedicine
- Integration of IOTs
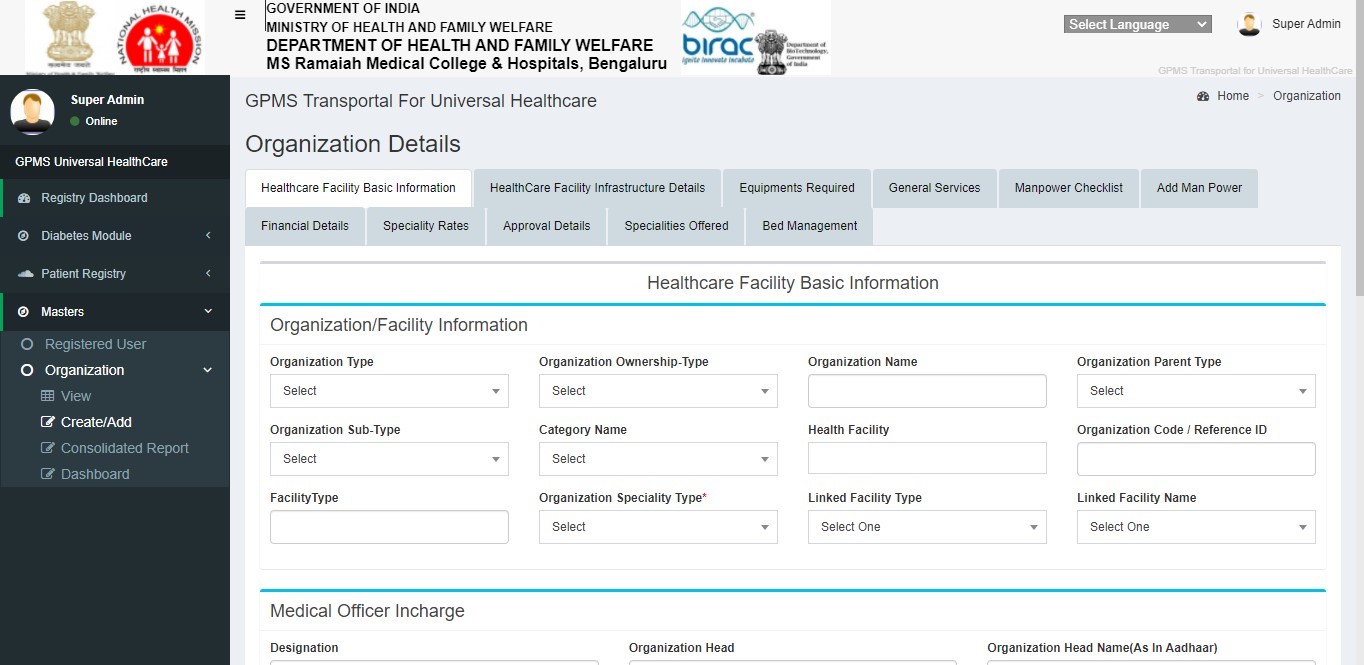
How to Register an Organization
Update all the available information related to the health facility.
To View the Registered Health Facilities

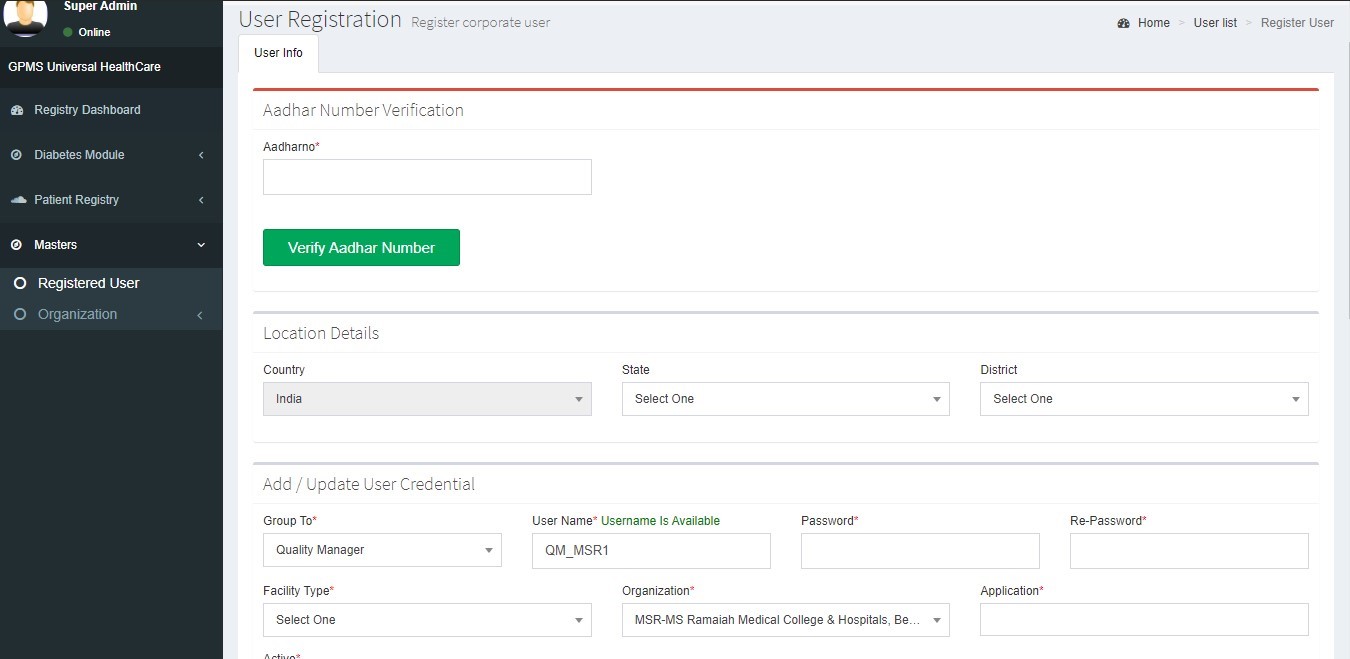
How to Create a New User
Select the Role of the user from Group Into > drop down and update all the fields in the registration form and submit.
To View the Registered Users
Exploring the Tabs of Section A and B for Inserting New Records
User Roles and Process
Data Entry Operator (DE)

SECTION A
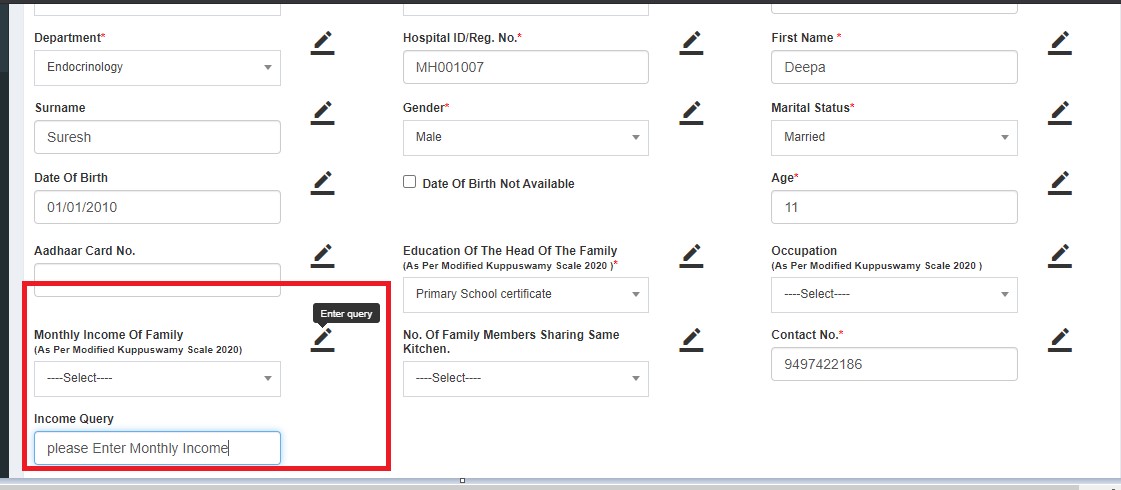
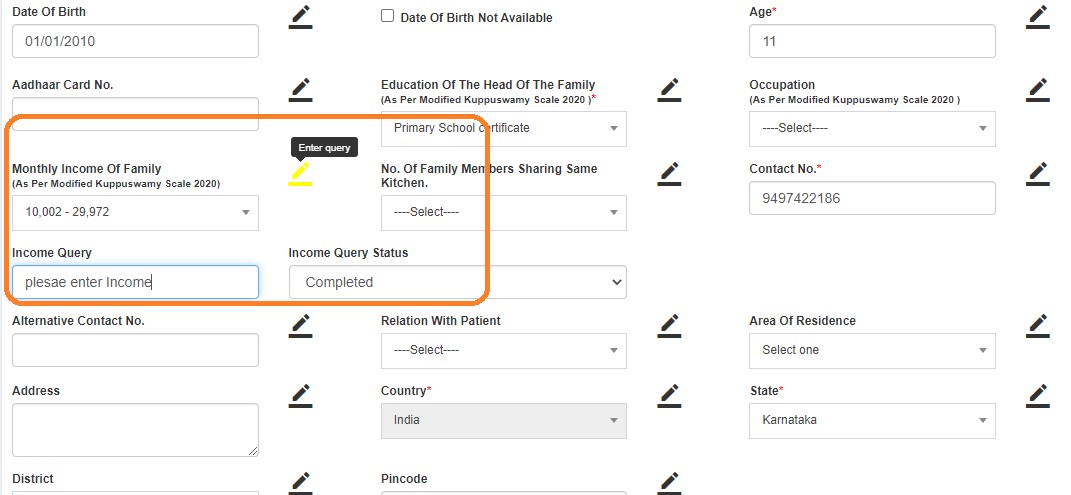
- Demographics
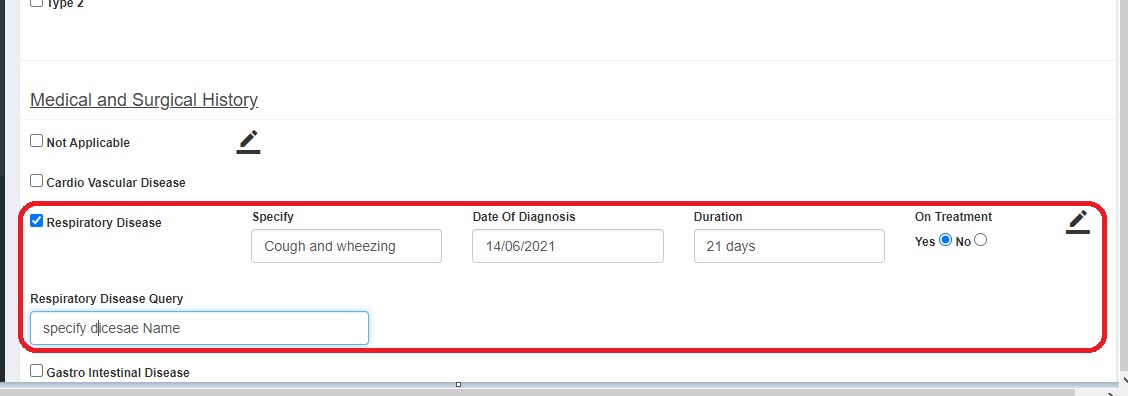
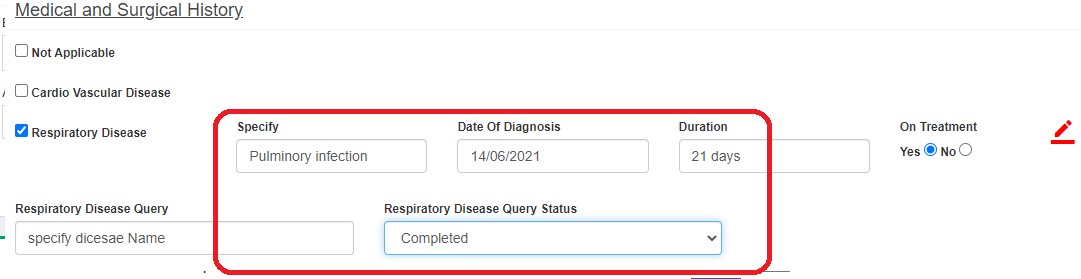
- Medical History
- Physical Examination
- Complications
- Lab Investigations
- Treatment History
SECTION B
- Diabetes Mellitus


SECTION B

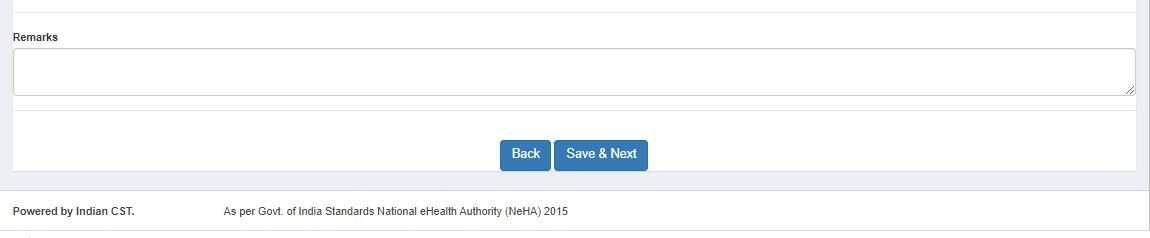
The user can return to any previous page by clicking the back button at the bottom of the page (not by clicking the module name on the left panel).


If changes are needed, edit and submit to the next user. Status changes to QM Pending - DE Submitted.

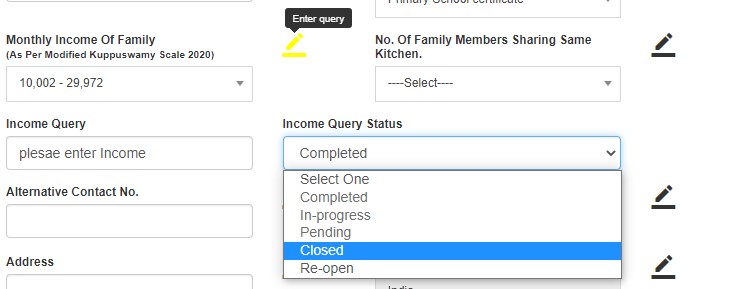
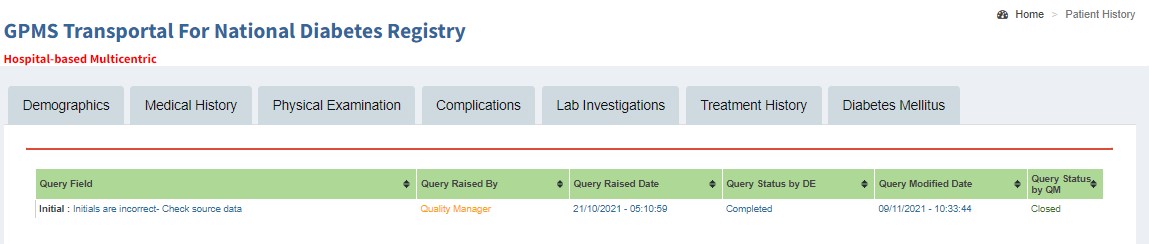
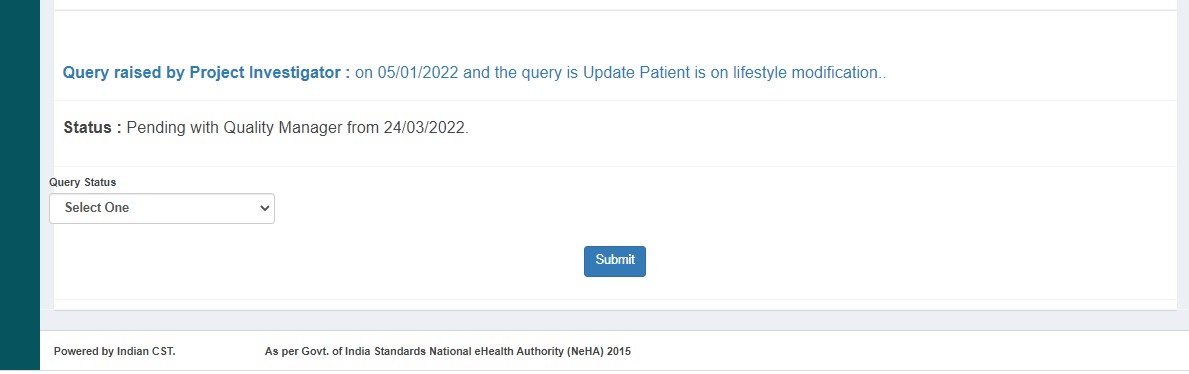
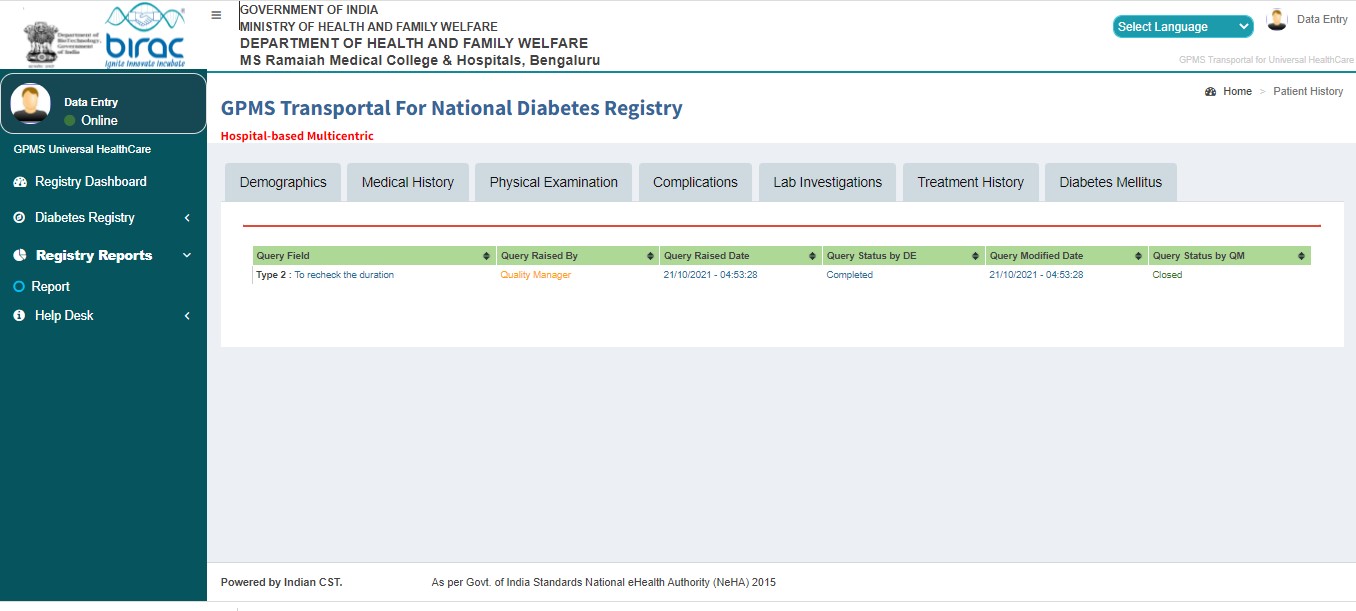
Quality Manager (QM) Process
If queries are raised, QM clicks "Edit" and submits. Status changes to DE Saved.


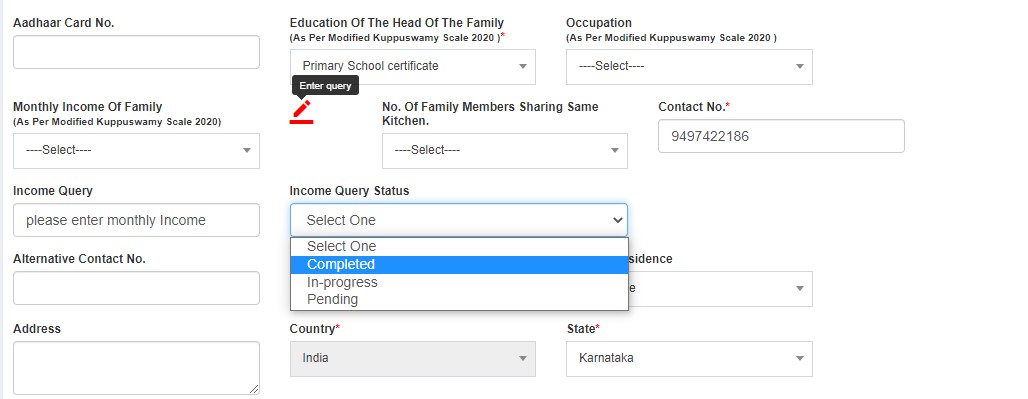
- Completed
- In-progress
- Pending
After resolving, status changes to QM Pending.


- Closed (green flag)
- Reopen (red flag)
If approved, submits to PI. Status changes to PI Pending.

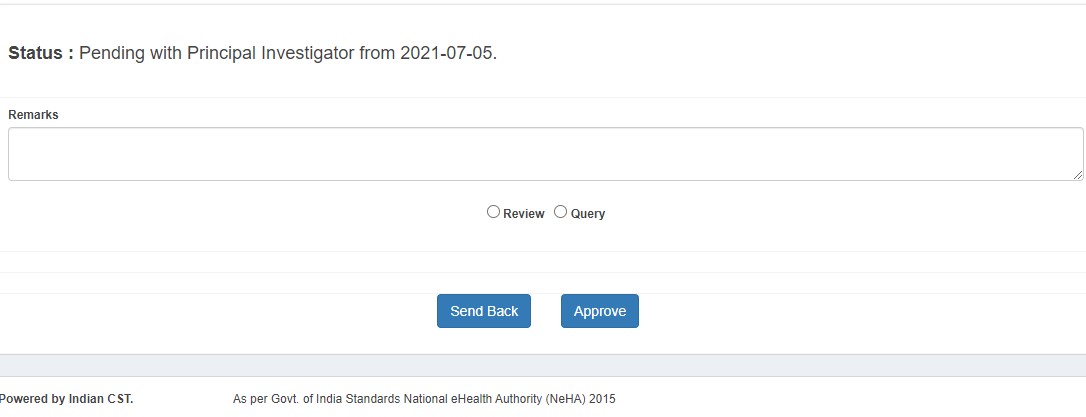
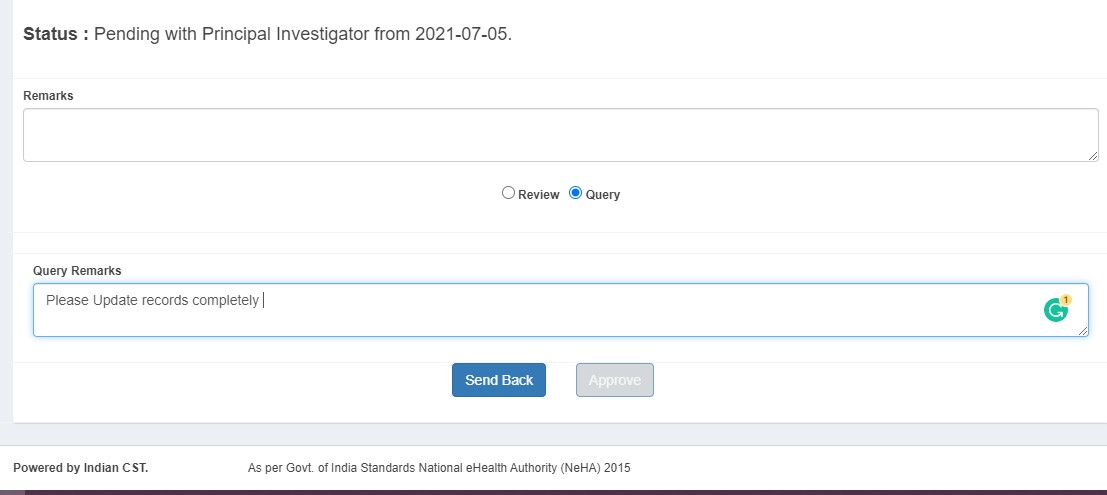
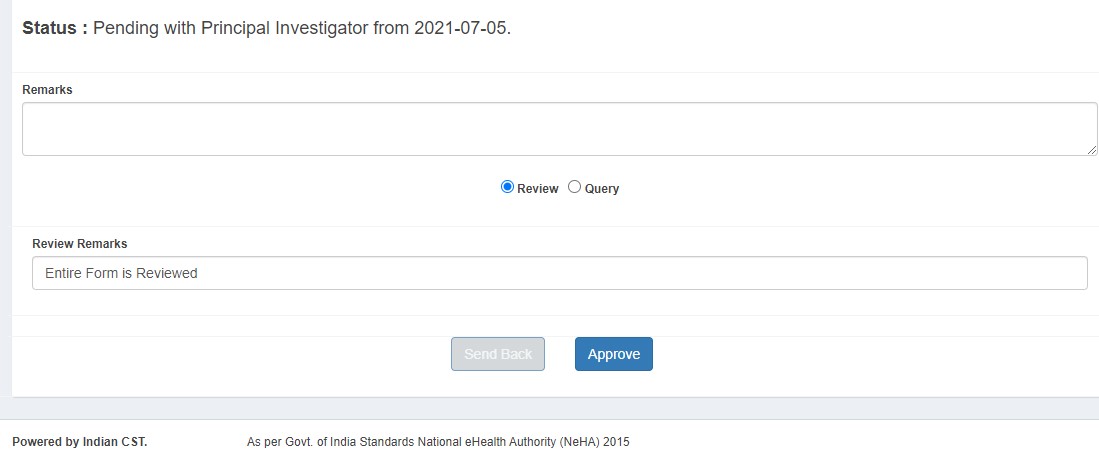
Project Investigator (PI) Process
- Approves (status: PI Approved)
- Sends back to DE with queries


Viewing Approved Records
Audit Trail History
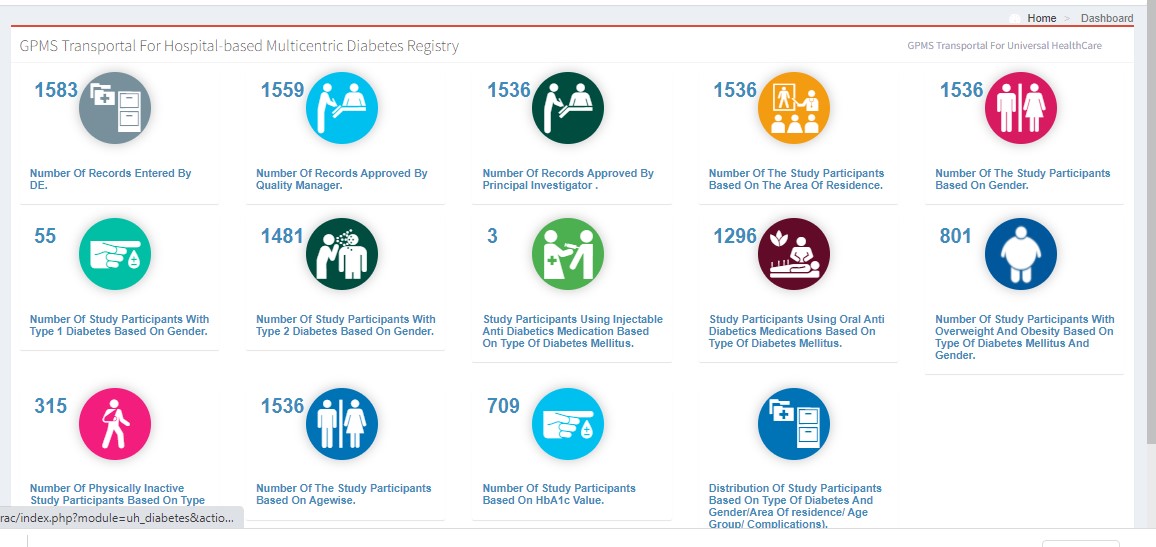
Registry Dashboard
Generating Reports
Project Deliverables
- Robust database to clarify Diabetes characteristics and management.
- Real-world view of clinical practice, outcomes, and effectiveness.
- Data for healthcare policy improvement.
- Improved quality of care and treatment adherence.
- Advocacy for resource allocation to diabetes care.
